
How to Measure for Bay Windows
Your big bay windows are definitely the highlight of your home, but when it comes to window coverings, you may find it to be a touch challenging to dress them. Don’t panic! We promise, dressing your bay windows is much simpler than you think. You just need measure correctly and find the right angles to ensure a perfect fit – and we can help you every step of the way.
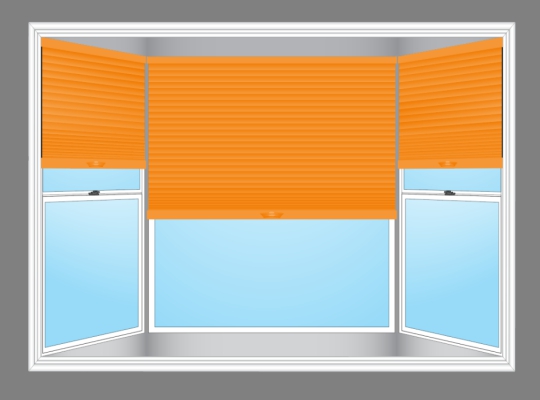
Measuring will depend on how many windows you have and how they are designed. Measuring will differ if each window frame is side-by-side or if they overlap. Most of the time, bay windows have three distinct frames – the centre window and two side windows that usually measure equally (more or less). If there is wall space – also known as trim – between each distinct frame, then you can go ahead and measure each window individually. (Watch our measuring guide to see how to get the correct measurements.)
If the windows do touch, you’ll have to take the headrail measurement into consideration to ensure they can fit side-by-side. In this case, measuring the depth of your window will be a crucial point.
If you have the room to do so, you can choose an inside mount for a clean, modern look. Each headrail and window shade or blind will sit perfectly within the window frames. If you don’t have enough depth to accommodate the headrails, you will have to go with an outside mount. Just keep in mind that headrails will protrude and won’t offer the same flush finish as inside mount shades. Outside mount will also go over the window frame and will cover the mouldings, as well. If your window has the option for inside mount, we highly recommend it. Otherwise, keep following along.
Step-by-Step Measuring Guide for Bay Windows:
Let’s get started and learn how to measure your bay windows correctly so you can get a perfect fit.
1. On the product page of your choice, scroll down to “Specifications & Installation.” Look for the “minimum flush-mount depth” measurement to determine whether or not you can inside mount your shades. There may be different depth requirements for different lift systems so be sure to check for the correct measurement.

2. Cut a piece of cardboard to the measurement of the flush-mount depth requirement and insert it as a placeholder on your window frame. This will give you an idea of where the headrail will sit and how far it will stick out when it is installed.

3. If you are working with an outside depth, cut out several pieces and tape them to the window frame. This way, you can see if the headrails will fit next to one another without pressing up against each other.

4. Once you have placed all of your placeholder pieces, use a pencil to lightly mark the spot where they touch. Then measure between the two dots in the middle to get the precise measurement of your middle bay window.

5. Next, measure the left centre mark to the end of the left window for the measurement of the left-hand window. Repeat the same thing on the right for the measurement of the right-hand window.
6. Measure everything a second time and double check you have noted them down correctly. Remember to round to the nearest 1/8”. Do not take any deductions. We will automatically take the necessary deductions during production.
7. Measure the height of each window individually. (Watch this video)
That’s it! You’re done measuring for your bay windows. If you aren’t sure what to do at any point, don’t hesitate to reach out to our customer care team. We’re always happy to help!


