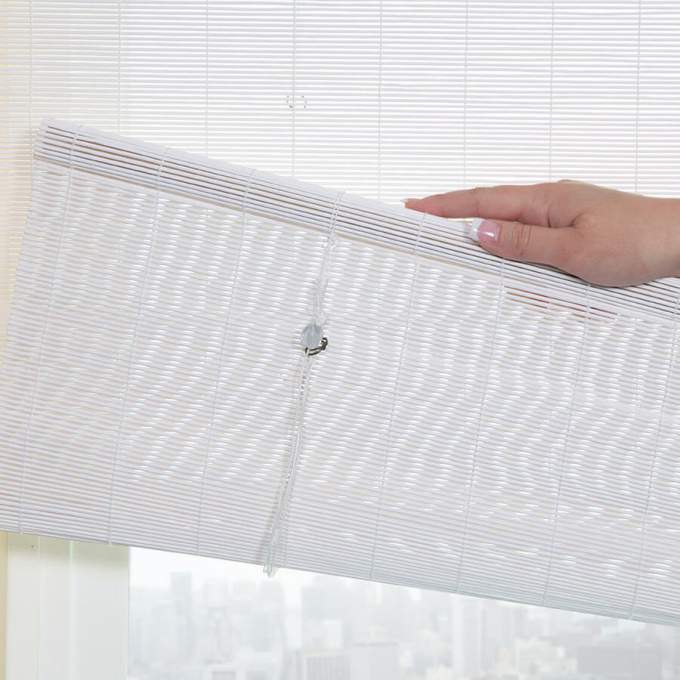
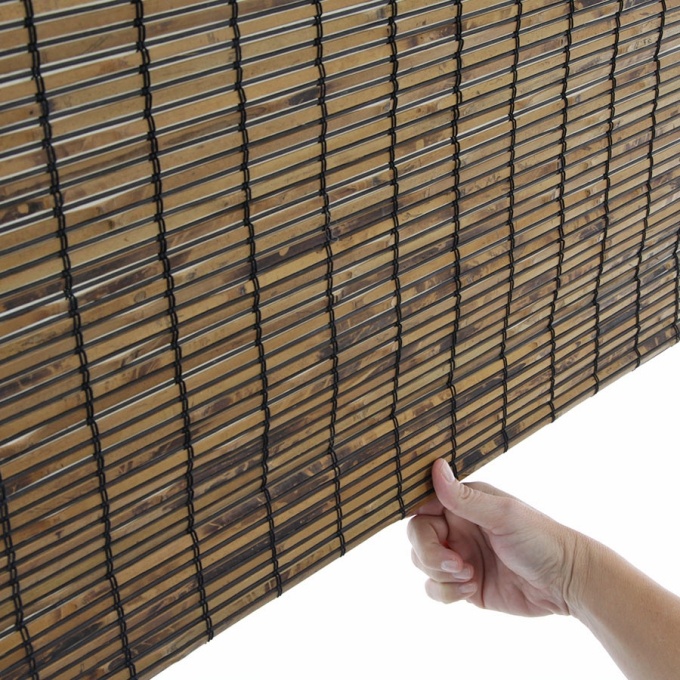
For a novice DIYer, window treatment installation can seem daunting. But trust us when we say, “You got this!” Read on to find out our insider secrets to making sure you have an easy time installing your Select Blinds Canada window treatments yourself.
1. Measure Properly First
The first step to ensuring a seamless installation process is to make sure you measure your windows properly. Read our Measuring Guide for quick tips on how to make sure you get the right measurements for your order. This can save you a lot of headaches down the line.
2. Read the Window Treatment Installation Instructions Before You Start
We highly recommend reading the Installation Guide beforehand. There are detailed instructions for different products, so be sure to check the right information. It is best to do a full read through so you understand what needs to be done before you actually get started. This can prevent snags in the process since you will understand what is coming up in the next steps.
3. Verify You Have Received All the Pieces Needed for Assembly
At Select Blinds Canada, we strive to make sure every order is sent out with every last item included. Of course, accidents can happen to anyone. Before you get deep into your installation process, verify that you have received all the pieces you need to properly install your window treatments. If you are missing anything, just reach out to our customer service team and we’ll send over whatever is missing right away.
4. Get the Right Tools for Window Treatment Installation
If you are not using the recommended tools to install your window treatments, you may run into problems throughout the process. To avoid these problems, check your toolbox and make sure you have everything you need. If you don’t, consider renting tools or reaching out to a friend or neighbour to borrow the right ones. The proper tools can mean the difference between a successful installation and a not-so-successful one.
5. Follow Each and Every Step
It may seem like some of the installation steps aren’t necessary, but trust us when we say, every step counts. Be sure to follow the instructions to a tee. Cutting corners can lead to problems as you go through the installation process or even later on when using your product. To ensure the products are installed easily and safely, follow every step in the guide.
6. Remember Not to Force Anything
If it seems like your product is jamming, resist the urge to force it into place. If there is any sort of jam, it is most likely because something was not done right in a previous step or there is a problem with the product itself – though this is very rare. Your window treatment installation process should never involve forcing pieces into place. Too much force can break the pieces you need for assembly, or worse, damage your new window treatments. If something isn’t sliding into place, go back to the beginning and retrace your steps to find the root cause of your dilemma. If the product is damaged, contact us for a replacement.
7. Ask for Help
If you’re having trouble with any part of your window treatment installation, don’t get lost in the instructions and wind up frustrated. Experts agree, it’s best to simply ask for help. While we do our utmost to ensure every last detail is taken into account in our Installation Guides, problems can still arise. Save yourself the frustration and get on the phone with our customer service team. They know the products inside and out and have the knowledge and insight to help guide you in the right direction.
Do you think you can handle a DIY window treatment installation? We know you can, but if you still have questions, don’t hesitate to ask us in the comments section below!


